Tutorial: Solar Energy 101
If you don't know anything about solar, this is a great place to start!
QUICK REFERENCE/SHOPPING LIST FOR MULTIPLE SYSTEM SIZES AT THE END
I’m going to try to keep it as basic as absolutely possible, because I think that anyone and everyone can use this stuff, but many resources have a steep learning curve and those that don’t tend to be conveniently provided by companies selling product.
If you know more than the basics, this probably isn’t going to contain new info.
My goal is to avoid as much math as possible and try to just give universal numbers while also avoiding too many links that might get outdated. This is.. a very tricky task on this topic and I would still strongly suggest doing research. Just be very, very wary of getting info from those also selling products.
Remember, you can ALWAYS scale up!
Everything here is calculated for about a 10kWh system, with some info for smaller systems. The average house in the US uses ~30kWh per day, but note that this will include large power drain systems like central AC, water heaters, typical incandescent bulbs, hair dryers, etc. The 10kWh is, in my opinion, a very good platform to either jump off from, or as a goal to try to achieve. It is also all 12v, and based on 5 hours of sunlight/day.
Batteries
Types:
The three main types of batteries are AGM, Gel, and Lithium Iron Phosphate (LiFePo). The latter is arguably the "best," however, it is also the most expensive. AGM (absorbed glass mat) and Gel are quite similar, but I would genuinely suggest just going for the Gel. Gel type batteries tend to be made for slower, continuous use and for our purposes, that’s perfect. If you can afford it, LiFePo really is great though. There are pros and cons to all of these though, and it’s strongly advised to use the same type for the whole bank. Ideally, we also want the same ah rating and state of charge. Age and condition is most optimal if they are similar (or exactly the same), but there is some leeway. There’s nothing saying you can’t have multiple banks though. In fact, for our system, that’s exactly what we will do!
When it comes to selecting the actual batteries, you may notice that many state "10hr" and "20hr." Neither is necessarily better, but they are made for different purposes. The 10hr batteries will have a different internal construction that is made for quicker discharge. Basically, they are designed for emergency use when the power goes out. The 20hr construction is made to be used as a daily power source. Depending on what you want to achieve, emergency power or supplemental power, both can work great. Either can technically be used in any system, but they aren’t as efficient when deployed outside of what they were designed for. So, if you have a bunch of 10hr golf cart batteries laying around, don’t think you CAN’T use them for continuous power, because you can.
Some of these battery technologies really need some kind of vent if you are going to install them in a tight, enclosed space. Others do not, but its not a bad idea to give them some breathing room all the same. There can be temperature fluctuations, outgassing, and various other behaviors.
You can even use 18650 batteries to build your battery bank, but it will require significant amounts of time and effort. Getting balanced charging across all the cells can also prove a bit tricky. Any rechargeable battery tech can work, even items like golf cart batteries, but it can require even more of a learning curve.
Capacity:
There are plenty of calculators out there, but the astute may notice that they are usually on sites that are.. wait for it.. selling products. The NREL site actually has some pretty good tools (and you only need to put in city/state). But, for the purposes of making this is as easy to digest as possible, you are probably looking at about 2,000ah of storage for our 10kWh system, using AGM or Gel batteries. This number accounts for the fact that you want to avoid discharging the batteries less than 50% and certainly never more than 80% discharged. It also provides a bit of a buffer for some cloudy days. Batteries come in many capacities, but as capacity per battery increases.. so does weight. Two common capacities are 100ah, which usually weighs 60-70lbs, and 200ah, which usually weighs 125-140lbs. The cost per ah tends to be less with a 200ah battery, but that’s also quite a bit of weight to deal with. Notably, LiFePo batteries tend to weigh about half their AGM/Gel counterparts, and their usable ah rating can effectively be doubled. This is reflected proportionally in their cost.
NOTE: This does not necessarily include major power hogs like central AC. Systems like that consume so much power that if you are looking to include them, you are starting to really jump up system size for single devices. This does also not necessarily include some large appliances, or anything that might use something other than ~120v (typical US power in a house). There are so many variables with it, and that makes it immensely difficult to give a one-size-fits-all solution.
Important to mention as always: these systems are quite scalable. So, you can start with much less and then slowly expand over time. With that in mind, a good, general starting point would be a 500-600ah battery bank. That would be something like 5x 100ah or 3x 200ah and will run around $1,000US for the batteries. Check your area too though, since there are many programs that will offset costs. The most direct is potential savings on the monthly power bill, but I wouldn’t go into this with the goal of saving money overall.
This size of bank might require a bit of thinking to figure out what may be necessary or not. The actual use case scenarios are so specific to each individual and house that it is very difficult to give hard numbers. But, as the systems are scalable, we can just expand as needed. If you have the money, go all out! If funds are tight, getting a single 100ah battery ($200US-$250US) is a great place to start.
Solar Panels
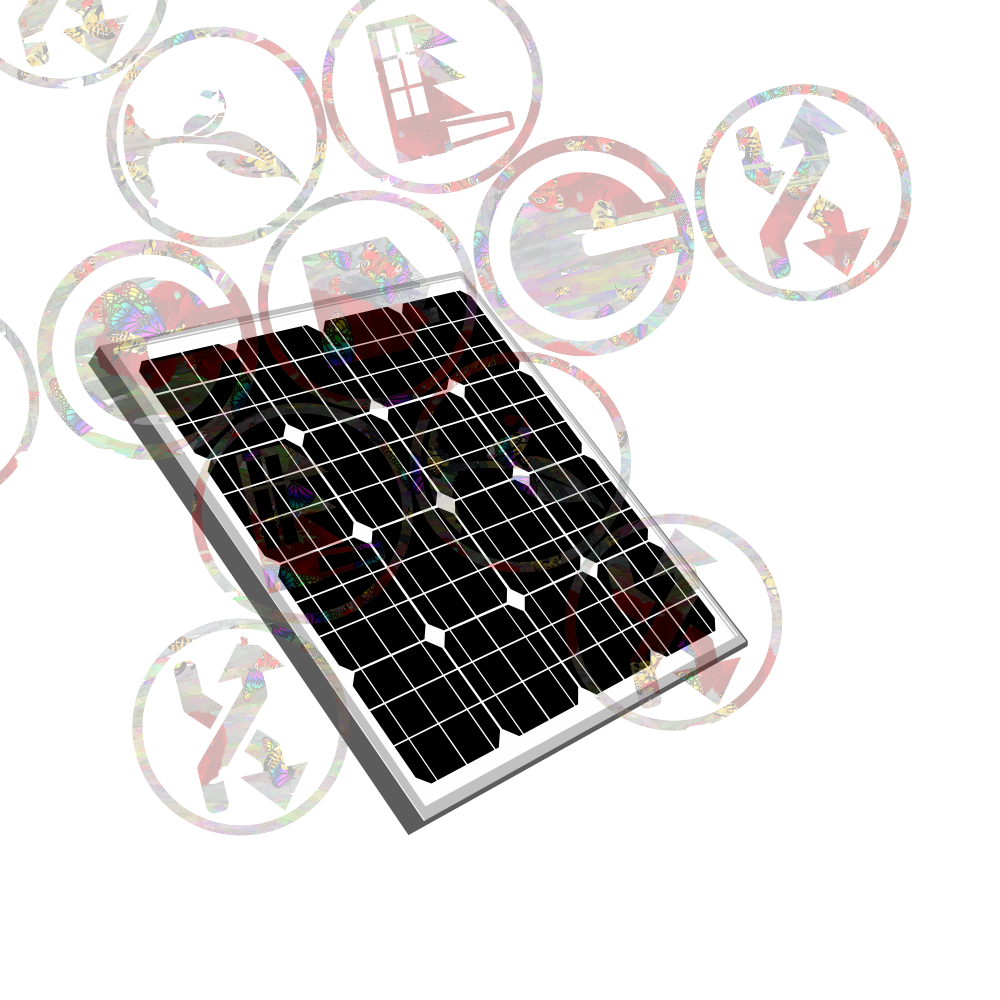
The number of panels required will depend strongly on location and application. Areas that get a lot of sunlight, and placements that get a lot of sunlight, can get away with less than areas and placements that do not. During the daytime, you ideally want the panels to handle power needs, as well as recharge whatever was drained from the battery banks overnight. There are a lot of different efficiencies and sizes and designs, but mainly we will look at Poly and Mono panels. Poly isn’t as efficient, but it is cheaper. Don’t avoid them!
For our 10kWh/day system, we will be looking at roughly 1,500w-1,750w of solar panels. There are a ton of different options here, but aim for that. So, if you look at 250w panels, you will need 6-7 and for 100w panels, you will be looking at 15~17.
Be on the lookout for Max Power Current(Imp) too! Different 100w panels can deliver different amounts of current. Typically, this won’t be a big deal. However, if you are running kind of close to charge controller capacity or fuse capacity, it can be good to know and keep track of it.
Charge Controllers
This takes the power generated by the solar panels and throws it into the batteries. This is a very important piece of the puzzle! Rechargeable batteries, in general, need specific charging profiles according to type, for the best (and safest) operation of the system. We will be looking at two types: PWM and MPPT. If you want to look into them more, go for it, but MPPT is the "better" of the two. It’s also more expensive.
With our 12v system here, we will be dealing with ~150 amps and if that number scares you.. Good. That’s a lot of amps, ok? Ok. Don’t let it frighten you off completely, but absolutely have respect for it!
If we get the right charge controller, we can also add in both wind and hydro power to the same system. With wind, we can use 3D printed turbines for much smaller footprints than typical turbines too:
It does typically require a charge controller that is made with wind in mind, like this one from MidNite, and you will need to include a diversion load:
But, a lot of the rest of the system remains the same. With both wind and hydro, I think it might be a bit much to try to really cover, but the option is there! Hydro is a bit more location dependent, of course.
The best way, in my opinion, to go about distributing the charge controllers is to split things up. Notably though, there are charge controllers out there that can be run in parallel for someone that is a bit more comfortable with these things. Otherwise, we will essentially split our solar array into multiple controllers and multiple banks. This also has the benefit of enabling us to have a system for different types of needs, as well as different battery types (but not in the same bank!). Its best to think of them as independent in this approach.
Approaches:
Keeping it simple for our system here, we can either split it into 3 x 60amp controllers, 4 x 40 amp controllers, or 5 x 30 amp controllers. With the latter, there is less wiggle room, but with a good quality controller it should be able to handle what its rated at without issue. There are tons of options out there with regards to different charge controllers in all kinds of amp ratings, so this is just to try to make it clear what we are doing with 3 specific examples. We would then just split the batteries, panels, and inverters evenly per controller. Technically, we end up with three 60a systems, four 40a systems, or five 30a systems.
Power Inverter
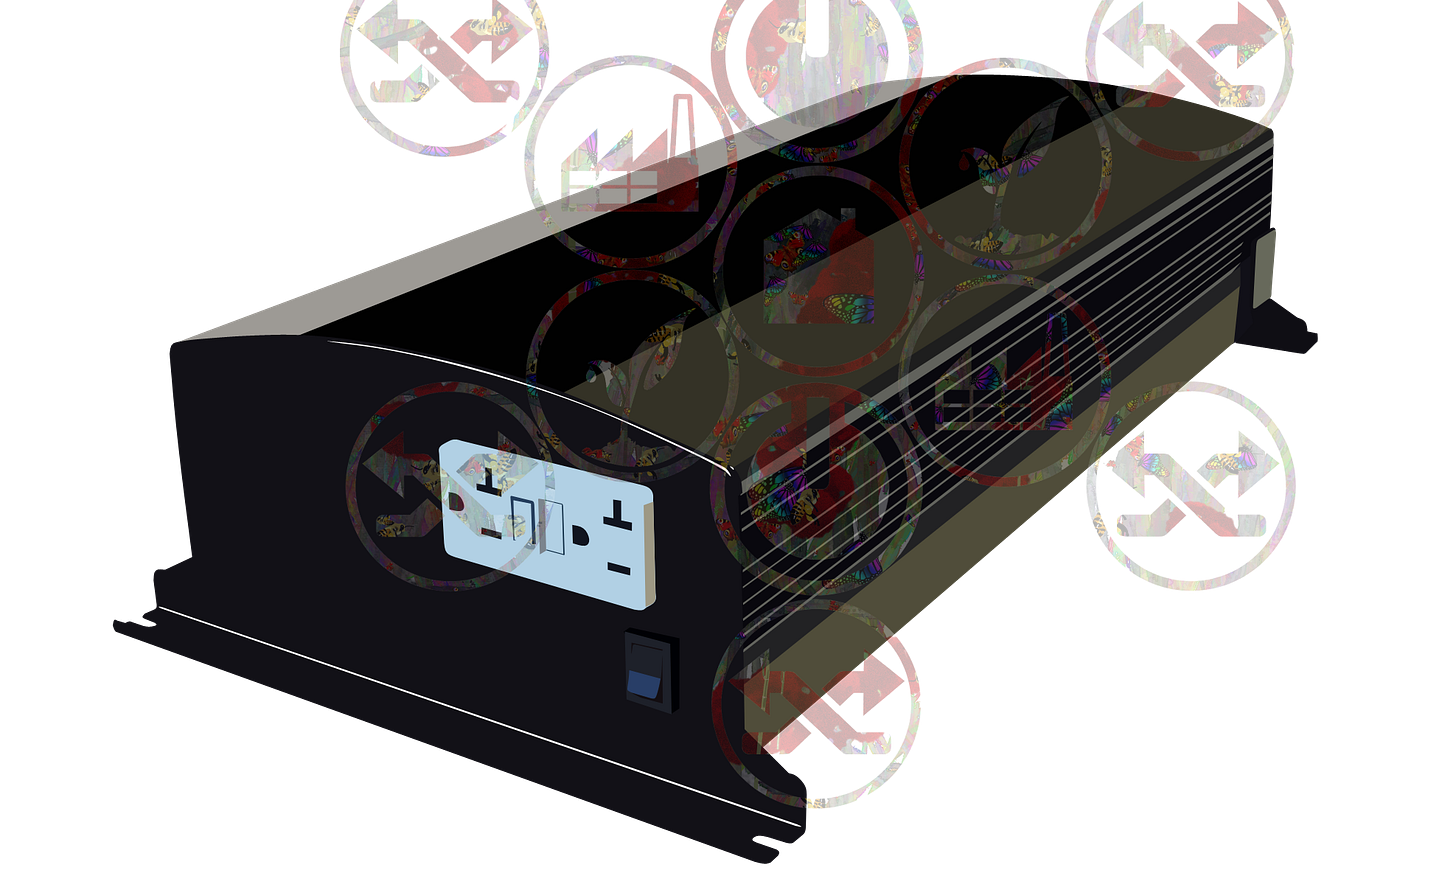
Up to this point, we have been dealing with DC (Direct Current). However, for most household electronics, we need that to be AC (Alternating Current). The inverter is what handles this, and usually just looks like a box with some 3 prong outlets on it. We can look at installing a "standard" inverter (Modified Sine Wave), or a Pure Sine Wave inverter. The pure sine wave will more closely mimic normal wall power, and is more desirable, but is also more expensive. Try to go for the Pure Sine Wave, even if its more expensive though. Some modern electronics may struggle to operate on the "normal" inverters. Its not absolutely necessary, and if you can only get the latter, just go with that.
There are also what are called Grid Tie Inverters (GTI). These do exactly what they say and tie your power back into the grid (including our normal wall outlets). We won’t be covering these, but if you are looking at getting one that deals with a load from a wind turbine, make sure it is designed for it.
When it comes to the wattage rating on the inverter, get the highest you possibly can! There are multiple reasons for this, but what that rating means is how much the inverter can deliver, not what it will deliver. If you plug in a 60w bulb to a 3,000w inverter, it will not give that lightbulb thousands of watts. It will simply provide what that bulb needs.
Generally speaking, you are probably looking at 1,000w-3,000w inverters. You can look at it as (very roughly) one 1,000w inverter per room, or one larger inverter for multiple rooms, or one single large inverter for the house. This last option can be quite expensive. Don’t cheap out on the inverter either. Anything that connects to the batteries should be decent quality (i.e. don’t just buy the cheapest, no-name inverter you can find to get high wattage ratings. It won’t deliver those ratings anyway).
Installation:
Now it’s time to connect and install everything! Solar panels work best when the sun hits them directly, or perpendicular to the panel. As the sun moves away from that, it will not produce as much power. Now, its not a massive difference, and there are certainly ways to install it so that it follows the best position, and we have built this system with that in mind. Just try to position the panel so when the sun is in the middle of the day, its about 90 degrees to the panel. Importantly, partial shade is also detrimental for panel efficiency.
Depending on how we split our controllers, we might need different gauges of wire as well. Smaller numbers on the wire gauge actually mean it is larger.
For 60a we would use 6AWG, 40a we would use 8AWG, and 30a we would use 10AWG
As with any project like this, we want to put fuses between the controllers and batteries, and between the solar panels and the controller. The fuse between the controller and batteries is easy; Just use a fuse rated for the same amps as the controller (i.e. 60a controller = 60a fuse, 40a controller = 40a fuse, 30a controller = 30a fuse). The fuse between the panels and controller is a bit trickier, but the equation is (Isc+Isc+..)*1.56 where Isc is the short circuit current of each panel connected in parallel. I tried to figure out how to do all this without ANY math, but there are just too many different panels and that fuse is important!
But.. If we were to use this, we can see that the Isc = 8.85a (in the item description) and if we were to use that with our 60a controller setup, we would have 2 of them on each fuse. So, it would be (8.85 + 8.85)*1.56, which equals 27.612. We would round that up to 30, and use a 30a fuse.
Plenty of panels now give a “fuse rating,” like the linked one above. But, I think having the actual math behind it is a very important reference. Generally though, fuse ratings will be per-panel. On that listing, it is 15a, so in the same system with 2 panels on a fuse, we come to the same 30a fuse.
Connecting to the batteries requires a bit of caution. You can expect a bit of sparks when actually making the connection sometimes, so don’t be surprised by that. The thing you want to watch out for is making sure nothing connects the terminals directly (like a wrench, your arm, etc.)
A single battery is relatively straightforward; the charge controller and the inverter all connect to the same terminals. Positive to positive and negative to negative. Don’t forget the fuses! Red = Positive, Black = Negative:
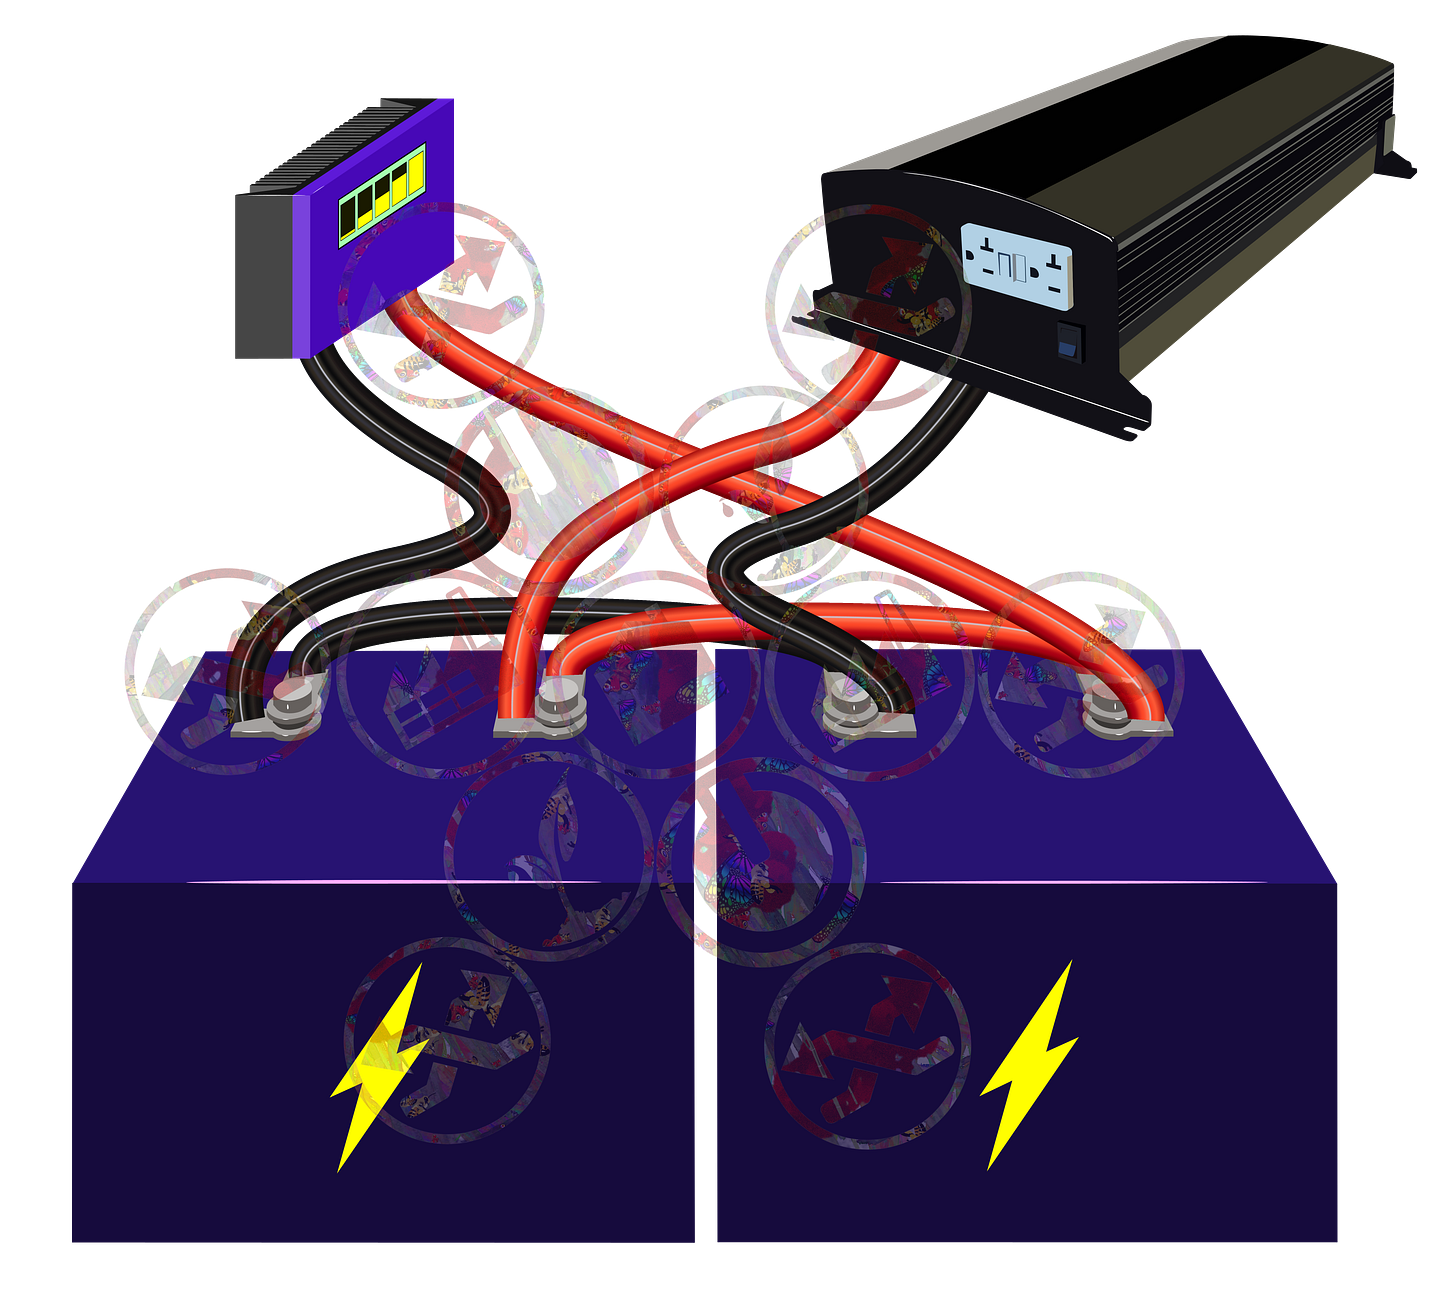
With more than one battery, it gets a little more complicated. Since we want to maintain 12v, we will connect the batteries in parallel. When it comes to a multiple battery bank, there are quite a few different ways to do this. The space you are installing them will determine how they are placed, but beyond that there are some general guidelines.
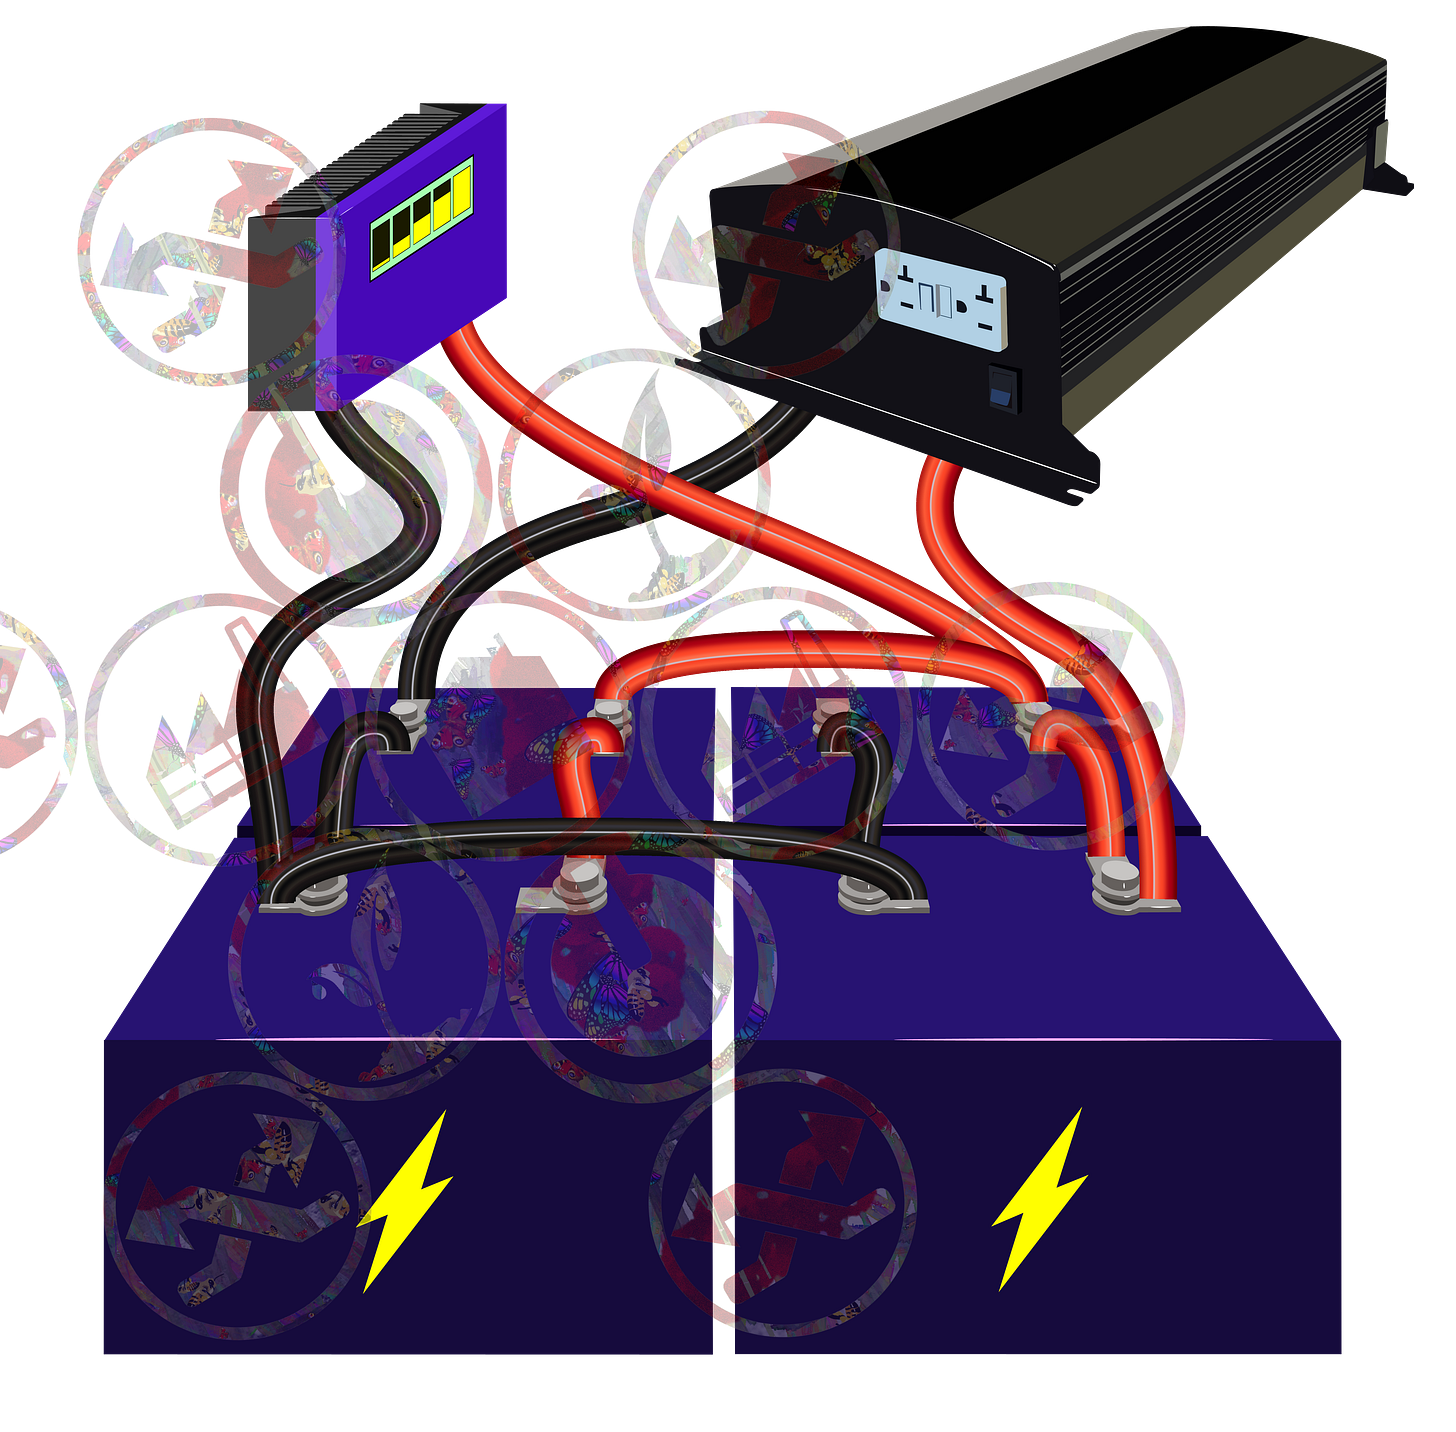
For parallel, we will connect positive to positive and negative to negative. This will keep the voltage (12v) the same, but increase current (I). Depending on the size of the bank, we will want to connect them at different points though. When it is getting charged from the controller, we want it to deliver the same juice to each battery. If we connect the charge controller to the terminals of the same battery, then connect the other(s) with wires to the primary battery, the other batteries will actually get a different amount of juice resulting in an imbalance in the charging process.
To prevent this with a two battery system, we will connect the negative output from the charge controller to the negative on one battery. Then, connect the positive output to the positive terminal on the other battery:
We can use this same setup for a battery bank with, say, four or six batteries. But, because of the power reaching each battery at a slightly different amount, there could still be some imbalances introduced. To alleviate this, we want the wires in between the negative output of the charge controller to be the same length before it reaches each battery terminal:
There are pretty decent starter kits out there too, like this one from Windy Nation. We would also need a battery like this one, along with wires, any brackets, etc. However, knowing what we are trying to accomplish before making any purchase is pretty important for the long term and scalable nature of technology like this.
We can now just plug into an inverter and use it like any normal wall socket that everyone is used to using! A power splitter or surge protector to provide more outlets, but don’t over do it1
There is little to no maintenance (though cleaning the panels is good, periodically checking connections, etc.) and while it can be a higher initial investment, we can earn that back over time with the added bonus working towards electrical self-sufficiency! Batteries do wear out, but you can expect them to last ~10 years.
Quick Reference:
Prices are very rough reference points
10kWh/Day System(~$4,000us~$10,000us(with wind/hydro capability)
~1,500w~1,750w in Poly or Mono Panels
2,000ah Battery Bank(Gel or AGM)
Charge Controller/Inverter:
3x 60a w/ 6AWG wire, 3x 3,000w Pure Sine Inverters
Fuses:
3x 60a, 1 between each controller & battery bank
3x "(Isc+Isc+..)*1.56" between each panel array & controller
OR
4x 40a w/ 8AWG wire, 4x 2,000w Pure Sine Inverters
Fuses:
4x 40a, 1 between each controller & battery bank
4x "(Isc+Isc+..)*1.56" between each panel array & controller
OR
5x 30a w/ 10 AWG wire, 5x 1,000w Pure Sine Inverters
Fuses:
5x 30a, 1 between each controller & battery bank
5x "(Isc+Isc+..)*1.56" between each panel array & controller
~2.5kWh System(~$1,100us~$2,000us)
~375w~500w in Poly or Mono Panels
500ah-600ah Battery Bank (Gel or AGM)
Charge Controller/Inverter:
1x 60a w/6AWG Wire, 1x 3,000w Pure Sine Inverter
Fuses:
1x 60a, between controller & battery bank
1x "(Isc+Isc+..)*1.56" between panel array & controller
OR
1x 40a w/8AWG Wire, 1x 3,000w Pure Sine Inverter
Fuses:
1x 40a, between controller & battery bank
1x "(Isc+Isc+..)*1.56" between panel array & controller
OR
2x 30a w/10AWG Wire, 2x 2,000w Pure Sine Inverter
Fuses:
2x 30a, 1 between each controller & battery bank
2x "(Isc+Isc+..)*1.56" between each panel array & controller
Budget Starter System(~$400us~$900us)
100w~250w in Poly or Mono Panels
100ah-200ah Battery Bank (Gel or AGM)
Charge Controller/Inverter:
Same as 2.5kWh system, with the exception that you can run 1x30a controller
The amps we are working with are up there. The voltage isnt high, but to be clear, we are dealing with lots of amps. Take them seriously. Consider: It will power large portions of your house. Don’t lick the batteries.
Whatever you plug in, don’t exceed the wattage rating of the inverter. The Kill-a-Watt meter can be absolutely invaluable for all this. There are less expensive watt meters too, like this one, though I do not have personal experience with them.


